
How to Make Seed Balls
MAKING SEED BALLS IS A FUN, FAMILY-FRIENDLY ACTIVITY you can easily engage in at home. The components aren’t hard to come by, and the act of making them offers the opportunity to get your hands dirty, spend some time outdoors, and talk and learn about native plants and why they’re important. And seed balls aren’t just for kids; we’re pretty sure they’d make a great happy hour amusement with the right crowd.

1. Collect Materials
Here’s what you’ll need to get started:
- Wildflower seeds native to your area (check our database if you’re not sure)
- Soil, ideally with no additives
- Compost
- Sand
- Water in a (preferably reusable) squirt bottle
- Aluminum foil
- A tray or cookie sheet
- Measuring spoons:
- 1 tablespoon
- 1/2 teaspoon

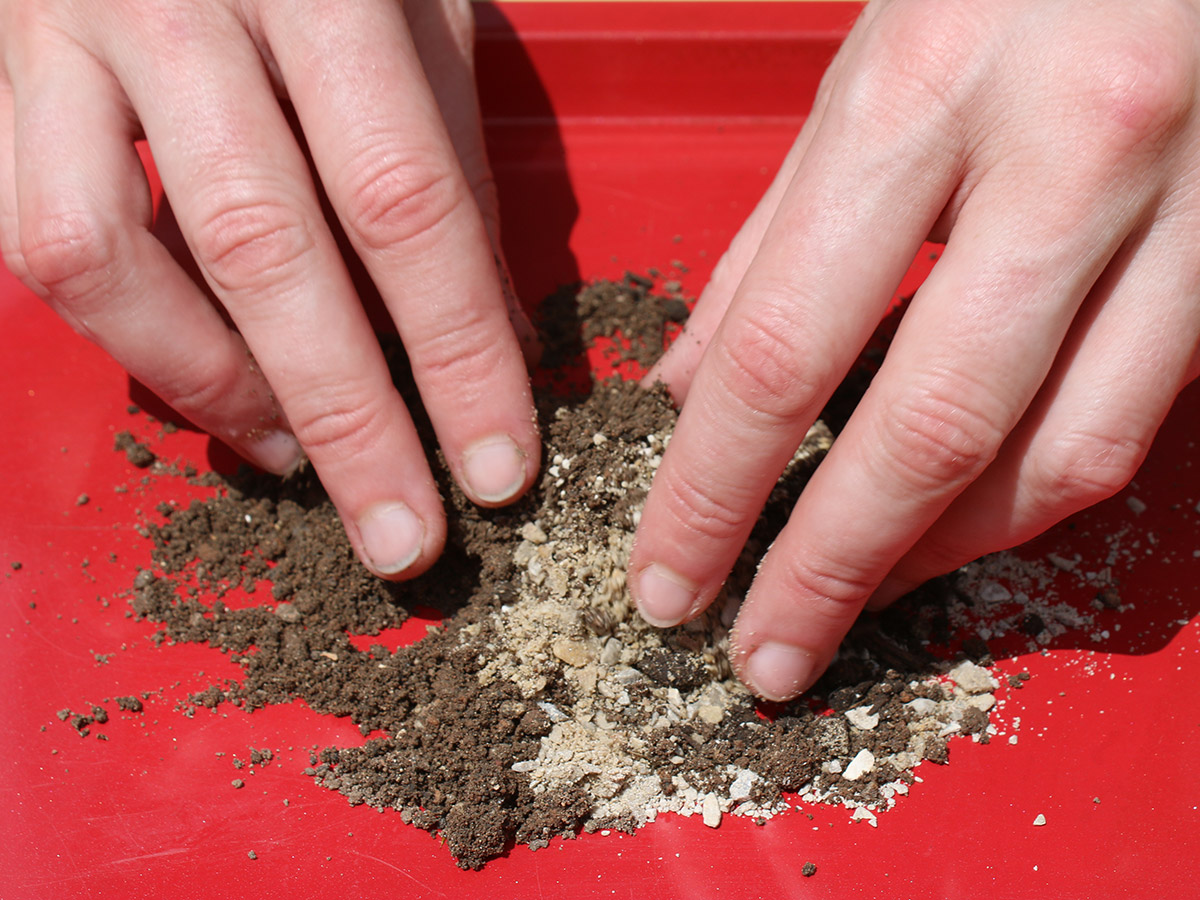
2. Mix Dry Base Components
Create a nourishing package of growing medium for your seeds.
- Use a 3-to-1 mixture of soil to your other dry components.
- Add 3 tablespoons of soil to your tray.
- Add 1 tablespoon of compost to your tray.
- Add 1 tablespoon of sand to tray.
- Mix well with your fingers.
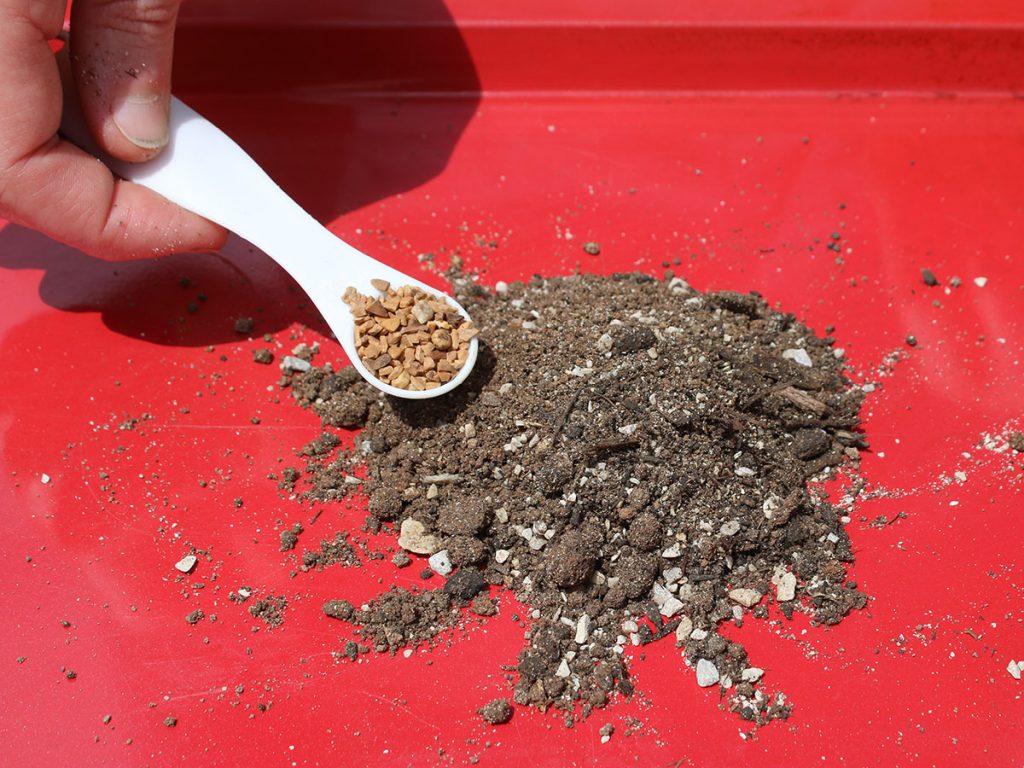
3. Add Seeds
It’s important to use seeds that are native to your area.
- Add a 1/2 teaspoon of seeds to your other dry components.
- Mix in well with your fingers.
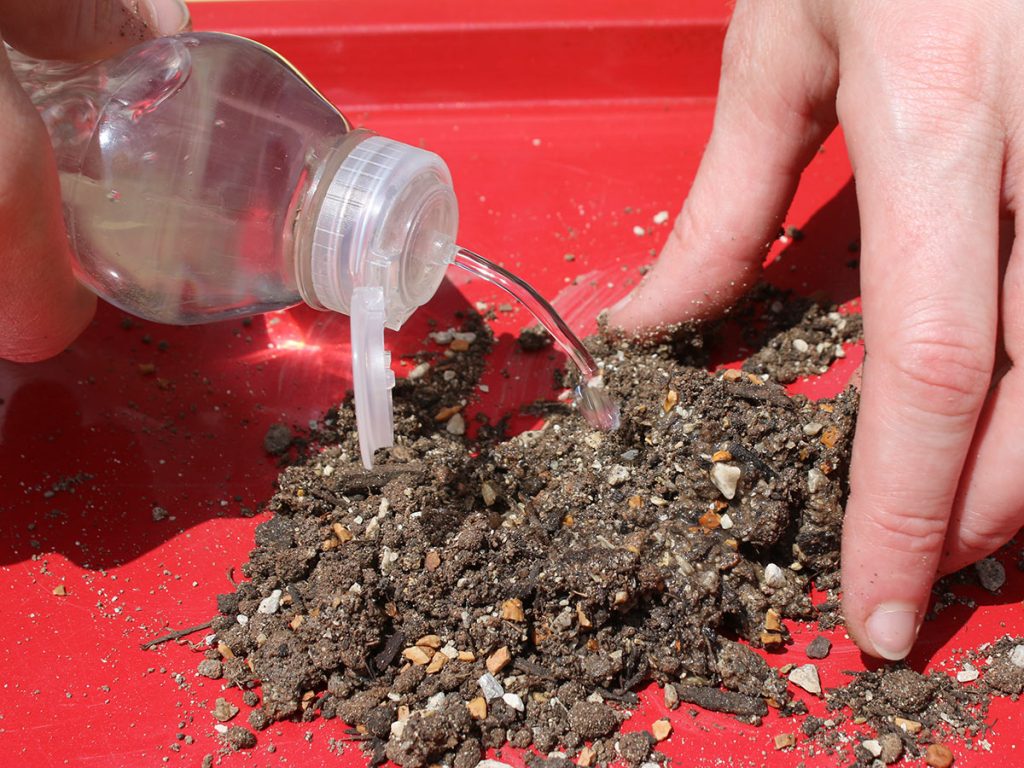
4. Add Water and Combine
Now it’s time to get muddy.
- Add a little bit of water at a time and work it in with your fingers.
- Strive for a consistency like cookie dough. The idea is to get the mixture to stick to itself enough to form balls.
- Remember: You can keep adding water, but you can’t take it away, so add sparingly and try to form balls before adding more.
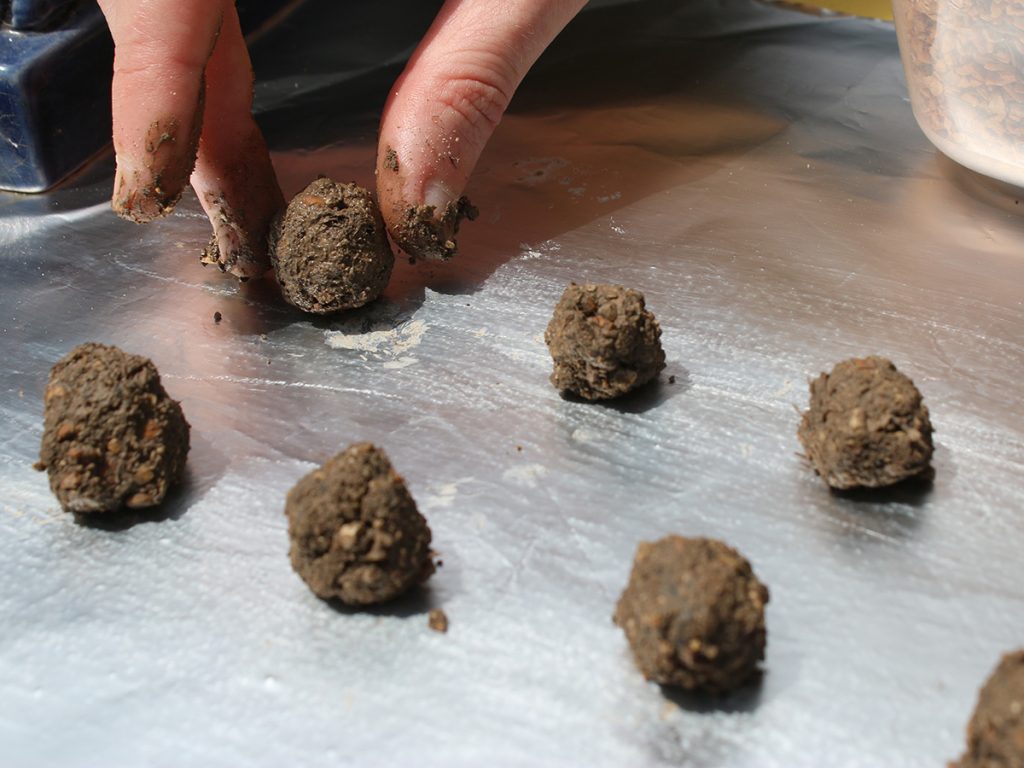
5. Form and Dry
Hard as rocks and small, y’all.
- Form the seeds balls with your fingers; the size should be like a large marble or an almond M&M. You want them small enough that they dry fairly quickly and break down easily. This recipe should yield eight to 10 seed balls.
- Don’t worry about getting them perfectly round. Seed “blobs” are also fine.
- Once formed, place them on your aluminum foil sheet to dry.
- Let them sit in a dry place for about 24 hours. You want them to be hard as rocks.
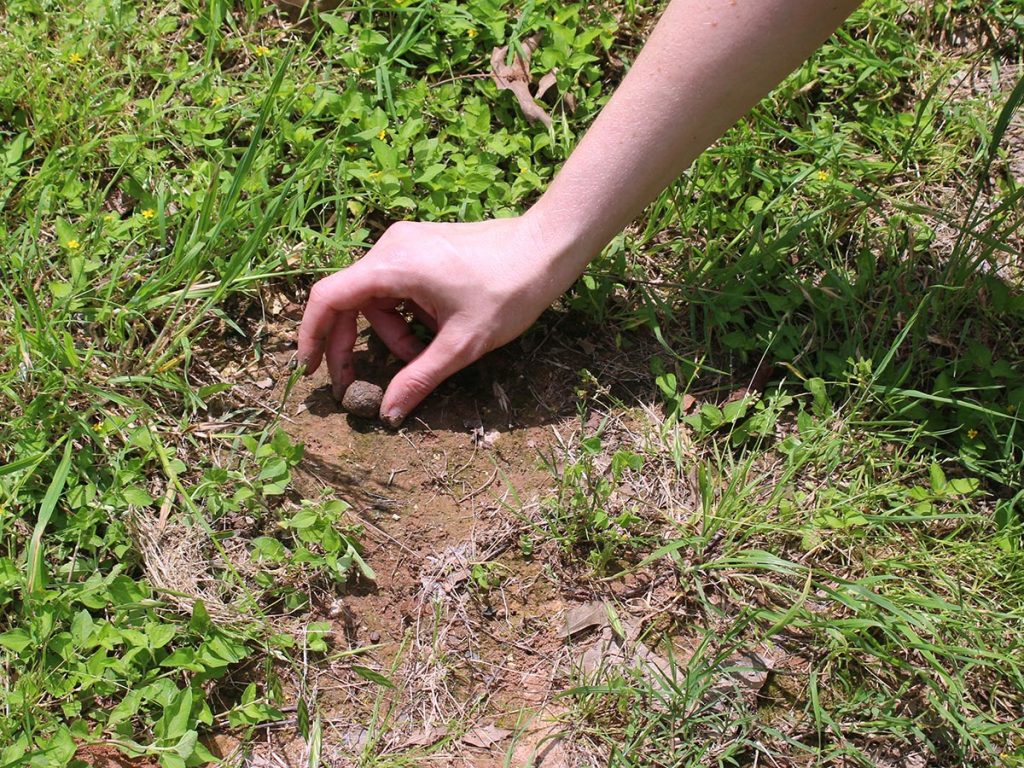
6. Distribute
Put ’em out in the world and wait.
- When your seed balls are ready to be distributed, make sure they hit bare ground and don’t land on top of sod or other established plants. You want the seeds to directly contact with the ground once rain and weather break them down.
- You don’t need to water, “plant” or otherwise tend to your seed balls. Just sit back and wait for your flowers to bloom
A Few Notes on Seed Selection
Seeds should be of a type that germinates easily. If working with kids, larger seeds are a good choice, as they are more conspicuous once blended into the other ingredients.
Consider what native plants are thriving in your area. Do you see Texas bluebonnets (Lupinus texensis), Texas yellowstar (Lindheimera texana) and Texas Indian paintbrush (Castilleja indivisa) flourishing in natural spaces around you? Then that’s a great combination of seeds to use in your seed balls.
Caution: Many seemingly local seed mixes actually contain exotic plant seeds. For example, a recently observed “Lone Star Mix” from a big box store contained African daisies. Be sure to read the seed list carefully to ensure you are planting natives plants. A good choice we often use at the Center is Lady Bird’s Legacy mix from Native American Seed. The Wildflower Center’s plant conservation manager once dissected a bag of wildflower seeds with “Texas Garden” in the name to see what she’d find. Read our “Meet Your Seeds” story to learn more.
How-Tos
Increase your skills and knowledge with these pro tips from our experts
Mr. Smarty Plants
10,000 answers to your gardening and plant questions
Classes & Programs
Participate in one of our popular educational programs