A Guide to Native Plant Gardening
These problems are compounded when native plants are replaced with non-native species in landscape plantings. The continual use of a limited palette of non-native plants readily available across the U.S. had produced a homogenized landscape susceptible to pests and diseases. Non-native species often require large amounts of water, fertilizer and herbicides for their maintenance, and those that escape cultivation and become aggressive often out-compete native plants for resources.
While preserving natural stands of native plants is important, you can help reestablish native plant communities in your yard and community by choosing to landscape with native plants as well. Regardless of the scale of the project, you can help conserve water and other natural resources while restoring and celebrating your region’s character.
A native landscape provides so much more than just water-conserving features. Native landscapes provide habitats for wildlife and encourage the presence of native insects and microorganisms; these native organisms benefit plants by keeping them healthy without the use of chemical fertilizers and pesticides. Your native landscape will be an economical, ecological and beautiful entity that reconnects you to the natural world.
Establishing native plants in your garden or landscape usually requires every bit as much work as establishing non-native species. However, once your native plants are established, you will see not only savings in time, energy and money, but also an aesthetic sense of place only regional native plants can provide.
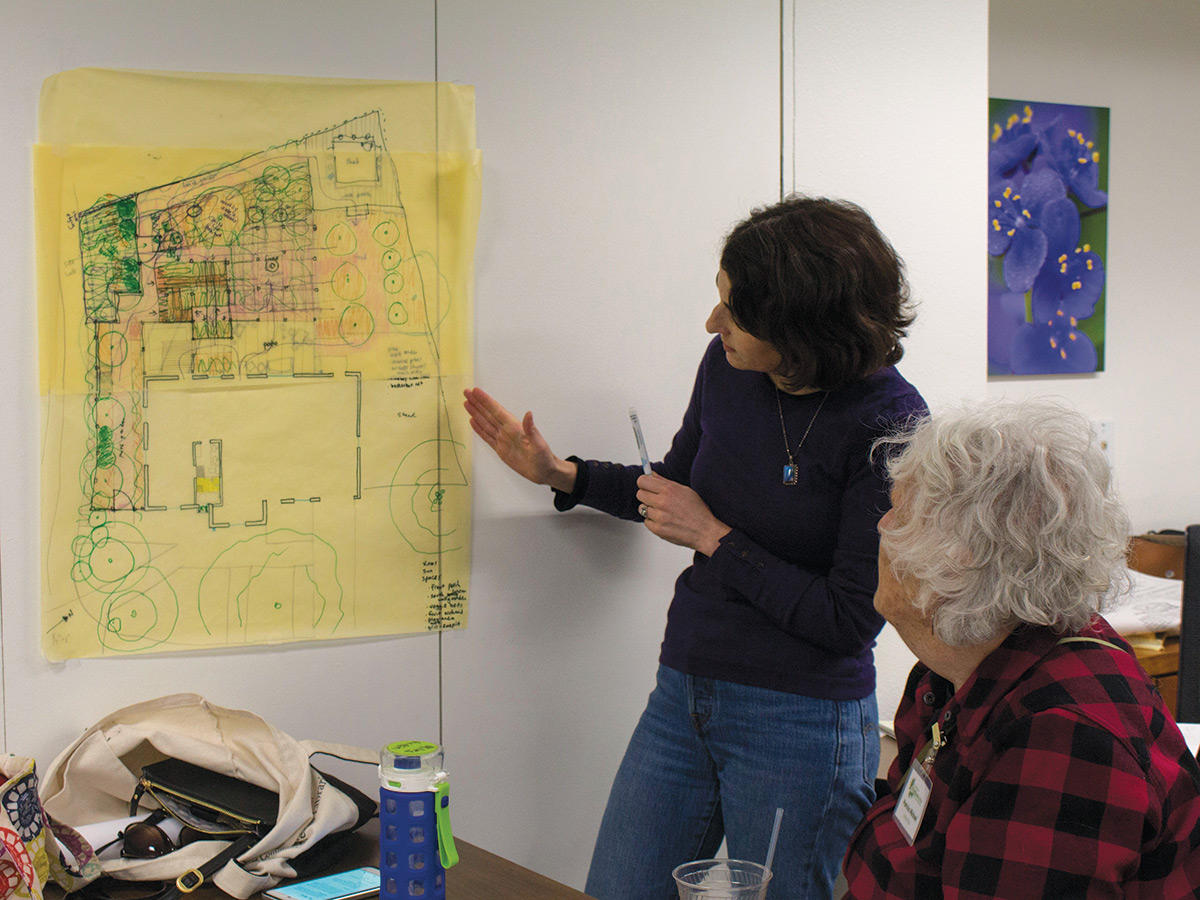
Site Assessment, Planning and Design
You can incorporate native plants into an existing landscape or start completely from scratch. First, you’ll want to assess your property’s environmental conditions (shady or sunny, adequate or poor drainage, soil types, irrigation, etc.), inventory existing native plants, and establish your own landscape needs based on how you use your yard. The results are well worth the time you spend analyzing and matching species to site conditions and personal preference.
Work toward a naturalistic landscape design by imitating associations found in specific plant communities (a prairie area, wetland or woodland edge, for example). Visit local natural areas so you can determine which species might grow well on your property. By observing native plants in their natural environments, you can learn more about their ecosystem requirements and growth habits. If you duplicate at home what you see in nature, you’ll properly place native plants in your yard. Note the plant’s maximum size and bloom sequence and where it occurs, such as at the edge of a forest or in an open meadow. Take time to learn about the dominant native plants in your area.
Your plan doesn’t have to be elaborate, and it can be installed in phases as money and time permit. If you should need assistance, a professional landscape designer or landscape architect with native plant experience could be employed.
Soil Preparation and Weed Elimination
First, you’ll want to assess your weed population and determine a control method. Disturbing the soil can create more problems than it solves because weed seeds, roots and rhizomes lay dormant underground, ready to sprout after tilling. If the site isn’t too weedy and has an appropriate amount of sun, incorporating wildflowers into the existing vegetation is relatively easy. Mow the herbaceous vegetation to a height of 6-8 inches and rake up the thatch, opening up some bare areas to allow the seeds to make soil contact.
If you have some weeds but prefer not to till or hand-weed, you can kill them by watering them and covering them with clear plastic for several months—a process known as solarization. This process works best in full sun and often creates temperatures high enough to kill the bank of weed seeds if done for a long enough period of time. Be sure to use clear plastic, as black plastic only causes the unwanted plants to go dormant, ready to spring back to life.
If you choose to till first, be sure to go no deeper than one to two inches to prevent the surfacing and germination of weed seeds. You could also apply two or more applications of a nonresidual, post-emergent herbicide to remove existing vegetation. Before you apply the herbicide, water the site for a week or two to promote weed germination. Let the seedlings grow one or two weeks and apply the herbicide. Repeat this process once more to ensure a fairly clean seed bed. Be sure to handle all herbicides with caution, read labels carefully and, if you are near surface water, choose an appropriate one. You can plant your wildflower and native grass seeds as soon as you are sure competing vegetation is under control.
If you have a lot of persistent weeds (Johnson grass, Bermuda grass, nutgrass, etc.), you may need a year or more to kill them all, although total eradication may not be practical if the site is extremely degraded or very large. You may want to use a modified solarization process where you use an herbicide in place of watering and then cover with clear plastic. Eliminating weeds as much as possible before planting is easier and less expensive than trying to control them in a newly planted site.
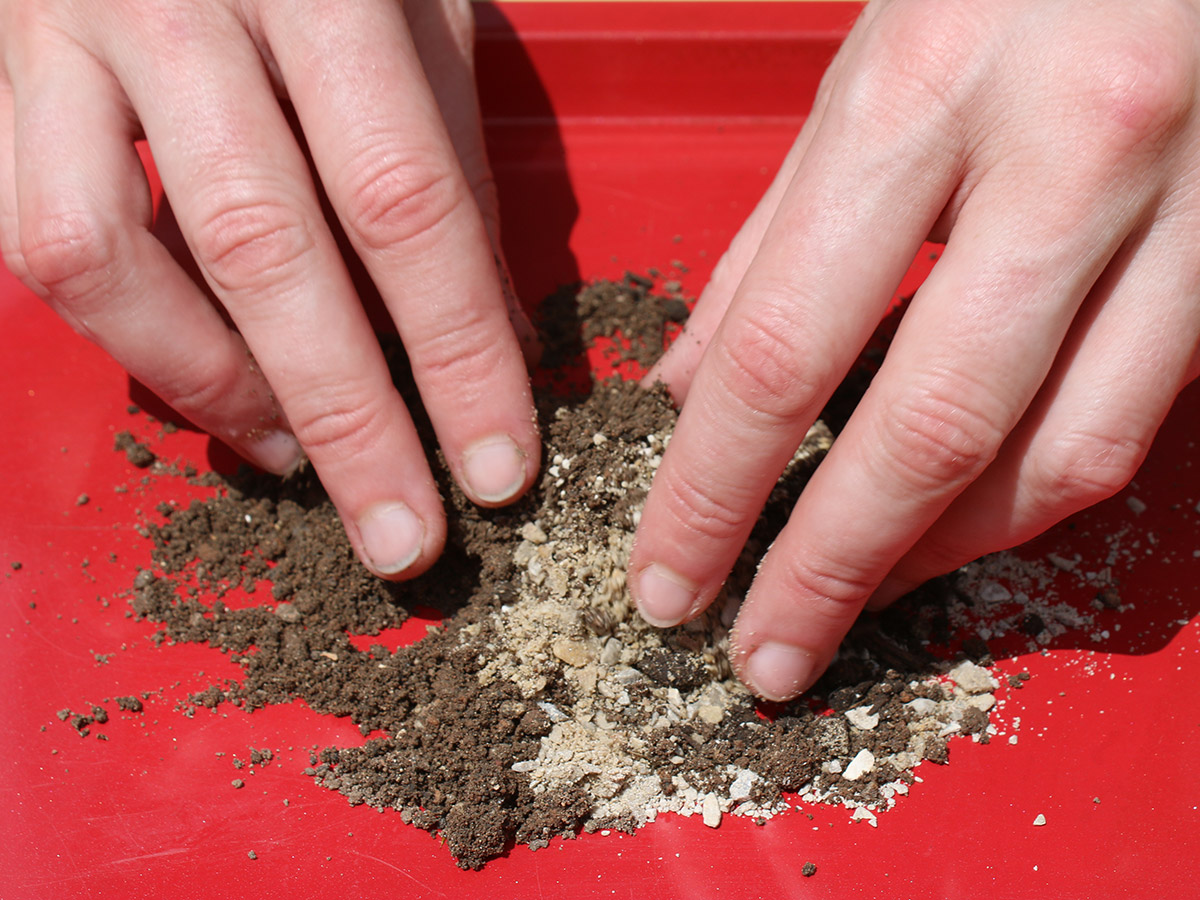
When plants are truly well selected for a site, no soil amendment should be needed. However, if your site has had the original topsoil removed, some soil amendments can help. (Also, imported soil may have been combined with native soil, changing how well it is suited to native plants.) Garden soils prepared and available at garden centers and dirt yards are often too rich in organic matter for native plants. If you are able to specify your own soil mix, ask to have less manure and organic matter added. Better yet — have them help you simulate as best as possible your native soil. Be aware that some builders lay down sandy loam— often referred to by native plant gardeners as “red death” — which is dug from deep pits and has no nutrient value or organic life. If this is the case, you may need to remove the sandy loam and start from scratch. Properly prepared soil helps conserve water because it absorbs and holds water more efficiently and drains better. Healthy soils support healthy plants that can better resist pests and diseases.
When possible, prepare your beds two to three months before planting so the soil can settle. Many wildflowers require well-drained soil, so you may need to supplement the prepared soil with sand, gravel or other material that loosens it and permits good drainage. Some wildflower species require moist soil; add water and large amounts of rotted leaves or compost to accommodate those needs.
Plant Selection and Planting
Choose species based on the soil, light and water conditions of your site and for the size, shape, texture and color you desire. For a more natural, successful and easily maintained landscape, you’ll need species that grow together naturally. The commercial availability of native plant species in local nurseries ultimately will determine which plants you use in your landscape. As demand for native plants increases, the nursery industry will respond and begin offering more native species in larger quantities. Take advantage of our biannual native plants sales, and keep asking your local nurseries to stock native plants!
If you have a large, sunny spot and are interested in planting wildflowers by seed, please refer to our How to Plant a Wildflower Meadow page. It is often preferable to work with plants instead of seeds to achieve your landscape goals more quickly. Native plants come in a variety of sizes from multiple-plant packs to large containers. Choose plants that have good branching structure and look healthy. Don’t let plants wilt in your car; get them home as soon as possible and into the shade until you are able to plant them.
The soil and roots of plants in pots can easily dry out so be watchful and water accordingly. When you are ready to plant, dig the holes larger than the root ball of the plant. To achieve a natural look, avoid planting in rows. Remove plants from their pots by manipulating the sides of the pots to loosen the soil from the roots. Never pull on the stems of plants to remove them as this might cause injury to the plant. If the plant is pot bound, you may want to cut and spread out some of the roots. Backfill the hole with some of the loose dirt, then position the plant so that the soil line from the pot is level with that of the ground. Use the remaining soil to fill the hole.
Mulch can help control weeds, reduce temperature fluctuations, retain moisture and give a finished look to the landscape; we suggest four-to-six-inch deep organic mulch around trees and shrubs and one inch or less around perennials. In some cases (blackfoot daisy, bluebonnets, yuccas, etc.), too much organic matter at the base of plants may encourage rotting; in those instances, we recommend the use of mineral mulches, such as crushed granite or limestone. Another bonus: Mineral mulches visually simulate the typical landscape of much of the Texas Hill Country.
Maintenance
All landscapes need several years to be come well established. The critical period for watering and weeding is two to three weeks after planting — longer if you are planting in warm, dry seasons — when nursery-grown plants are making the transition to living in a landscape. Your landscape will need minimal maintenance once it is established. Many maintenance practices used for traditional cultivated plants also work for native plants.
Depending on the look you’re trying to achieve, you may need to prune fast-growing species or weed out undesirable plants. Clipping seed heads and branch tips encourages fullness and longer bloom periods for many perennials, although it may sacrifice some seed production. You’ll want to research particular species you plan to prune. Some perennial wildflowers and shrubs respond well to severe pruning in the fall or late winter to remove frost damage.
Before mowing or collecting, you’ll need to examine seeds to determine ripeness to ensure the wildflower seeds have matured. Allowing seed to set is more important for getting annuals to come back than it is for perennials. Mowing will help disperse the seeds into the same location. If you collect your seeds, you’ll want to store them in a dark, dry and cool place until you’re ready to plant. Be sure to label them with at least the species name and date collected (learn more about collecting and storing seeds).
Native plants usually do not require fertilizer. Many thrive in poor soil, and applying fertilizer could chemically burn them or stimulate weak foliage growth with few flowers.
How-Tos
Increase your skills and knowledge with these pro tips from our experts
Mr. Smarty Plants
10,000 answers to your gardening and plant questions
Classes & Programs
Participate in one of our popular educational programs